Deploying a Secure Website in Docker
Introduction
This article will explain and show you how you can deploy and run a WordPress-based website or blog in Docker with fully automated TLS certificate rotation through Let's Encrypt. In this example, we'll be using Docker Compose to easily manage the different containers we need. Because this setup requires you to configure some secrets such as passwords and private keys, it involves a few initial manual steps.
docker-blog-setup
Docker setup for a WordPress blog with automatic TLS certificate renewal
See it on GitHubRequired Tools
- Docker
- Docker Compose
- Bash (Linux) or Git Bash (Windows)
Configuring the Secrets
On the machine you want to deploy the website, create the files listed below. Change the path to something that makes sense on your target host. Each one of them should contain a single line with the desired secret. These files will be mounted into the Docker containers as a way to securely pass the secret.
You can easily generate a random password in (Git) Bash with the following command.
cat /dev/urandom | tr -dc A-Za-z0-9 | head -c 16 | sudo tee /etc/secrets/mysql/root_password > /dev/null
| Path | Description | Example Value |
|---|---|---|
| /etc/secrets/mysql/root_password | The root password for the MySQL database | lWT4KK6V21xU1G82 |
| /etc/secrets/mysql/username | The username for the MySQL database | wordpress |
| /etc/secrets/mysql/password | The password for the MySQL database | TsxeFys8xw8jOtSV |
| /etc/secrets/wordpress/mysql_username | The username for the MySQL database | wordpress |
| /etc/secrets/wordpress/mysql_password | The password for the MySQL database | TsxeFys8xw8jOtSV |
Generating the Initial TLS Certificate
The self-signed certificate is needed as an intermediate solution, so NGINX can start up and certbot can go through the TLS certificate request/renewal flow. In the command below, change the certificate subject to something that makes sense for your situation and then run it. Once Certbot successfully requested a certificate, you can restart the NGINX container or wait for the automatic configuration reload (every 6 hours) to configure the new certificate.
openssl req -x509 -newkey rsa:4096 -keyout nginx.key -out nginx.crt -days 365 -nodes \
            -subj "/C=US/ST=Oregon/L=Portland/O=Company Name/OU=Org/CN=www.example.com"
Updating the Versions and Changing the Secret Paths
Before using docker-compose up -d to start the containers, you'll want to make sure you're on recent and supported versions. Make sure you pick a MySQL version that's compatible with the WordPress version you want to deploy. Also check the volume paths and change them in accordance with the secrets generated earlier.
version: '3.7'

services:
  mysql:
    image: mysql:8.1.0
    restart: always
    volumes:
    - /data/docker/mysql/var/lib/mysql:/var/lib/mysql
    - /etc/secrets/mysql:/run/secrets
    environment:
      MYSQL_ROOT_PASSWORD_FILE: /run/secrets/root_password
      MYSQL_DATABASE: wordpress
      MYSQL_USER_FILE: /run/secrets/username
      MYSQL_PASSWORD_FILE: /run/secrets/password

  wordpress:
    image: wordpress:6.3.0-php8.1-apache
    restart: always
    depends_on:
      - mysql
    volumes:
      - /data/docker/wordpress/var/www/html:/var/www/html
      - /etc/secrets/wordpress:/run/secrets
    environment:
      WORDPRESS_DB_HOST: mysql:3306
      WORDPRESS_DB_NAME: wordpress
      WORDPRESS_DB_USER_FILE: /run/secrets/mysql_username
      WORDPRESS_DB_PASSWORD_FILE: /run/secrets/mysql_password

  nginx:
    image: website-nginx:1.0.0
    restart: always
    build:
      context: ./nginx
    volumes:
      - /etc/secrets/nginx:/run/secrets
      - /data/docker/certbot/var/www/certbot:/var/www/certbot
      - /data/docker/letsencrypt/etc/letsencrypt:/etc/letsencrypt
    ports:
      - 80:80
      - 443:443
    command: "/bin/sh -c '/scripts/start-nginx.sh'"

  certbot:
    image: website-certbot:1.0.0
    restart: always
    build:
      context: ./certbot
    volumes:
      - /data/docker/certbot/var/www/certbot:/var/www/certbot
      - /data/docker/letsencrypt/etc/letsencrypt:/etc/letsencrypt
    entrypoint: "/bin/sh -c '/scripts/start-certbot.sh'"
Configure Your Domain
The start-certbot.sh script is responsible for obtaining and renewing a Let's Encrypt certificate in order to secure your website with TLS. In this script, replace example.com with your own domain (there are multiple occurrences!). Use an active email address for the --email argument, because Let's Encrypt occasionally sends out important emails.
Once the Certbot container starts running, the aforementioned script will immediately kick into action. The first task it performs is renew the certificate if needed. It will do this on a daily basis by running the certbot renew command. Once this step is done, it will immediately copy the Let's Encrypt certificate to a separate staging directory to indicate it's ready to be picked up by NGINX. This staging directory is shared between the Certbot and NGINX containers.
The NGINX Startup Script
The main purpose of the start-nginx.sh script is to refresh the TLS certificate in case a new one has been staged by Certbot. This script live reloads NGINX every 6 hours, effectively changing the TLS certificate without downtime.
Starting the Containers
Everything should now be configured and ready to be started. You can start all services by running the following command.
docker-compose up -d --build
$ docker container ls
CONTAINER ID        IMAGE                           COMMAND                  CREATED             STATUS              PORTS                                      NAMES
e628218e00ed        wordpress:6.3.0-php8.1-apache   "docker-entrypoint.s…"   4 minutes ago       Up 4 minutes        80/tcp                                     docker-wordpress-wordpress-1
68136514078c        website-nginx:1.0.0             "/docker-entrypoint.…"   4 minutes ago       Up 4 minutes        0.0.0.0:80->80/tcp, 0.0.0.0:443->443/tcp   docker-wordpress-nginx-1
1cf7fdba41b7        mysql:8.1.0                     "docker-entrypoint.s…"   4 minutes ago       Up 4 minutes        3306/tcp, 33060/tcp                        docker-wordpress-mysql-1
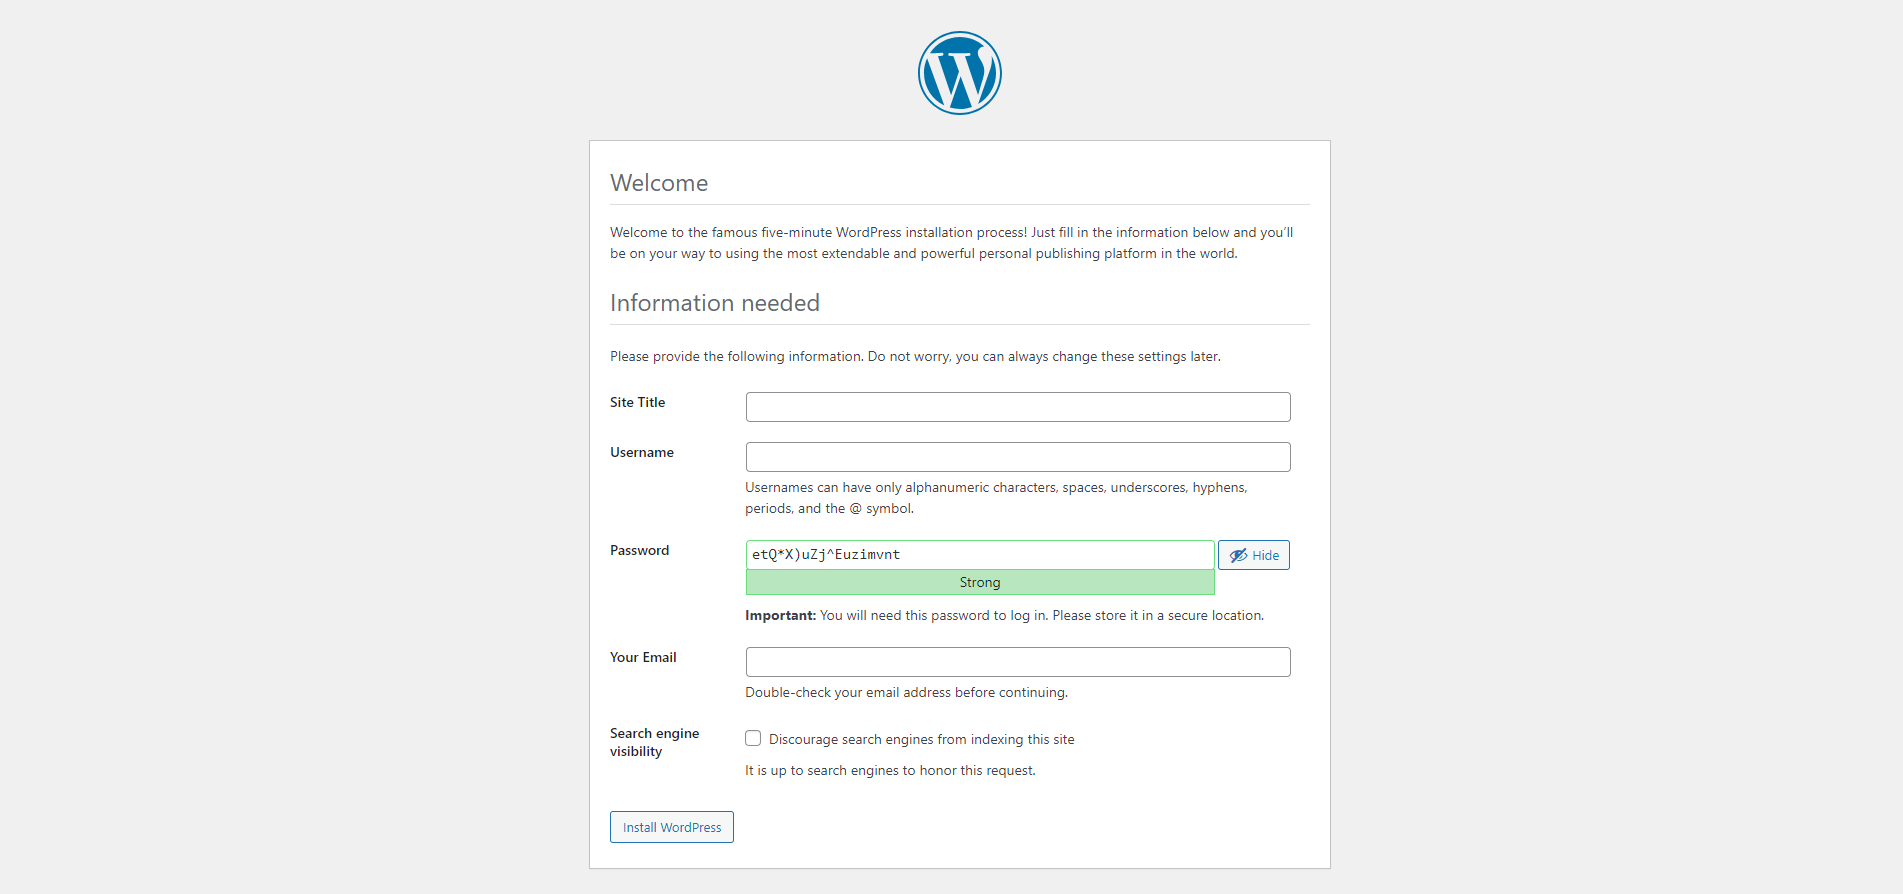
You should now be able to browse to https://{your-ip} and see the WordPress setup screen (after ignoring a security warning because of the self-signed certificate).

Setting the Public URL (DNS Name) in WordPress
After creating DNS records for your domain to point it to the new WordPress installation, you can set the public URL in the WordPress settings. This is important because WordPress will use this value in redirects and to construct file paths.
Next Steps
If all went well, your WordPress instance should now be up and running, secured by NGINX with automatic TLS certificate rotation. Once NGINX picks up the certificate that Certbot newly requested, your browser should display the WordPress content without any security warnings. You can now install your favorite WordPress plugins and publish your content.